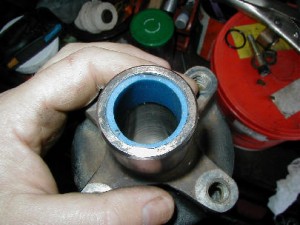
With a little gentle persuasion the new bush is in.
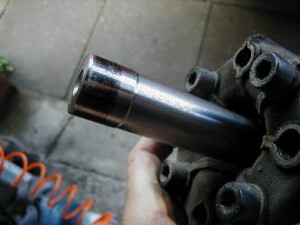
 A bit more time spent profiling the top lipped edge would have resulted in a better fit on the left hand side but rather than damage the bush trying to remove it I applied a little more thumb pressure which evened it up to the point where I felt it was acceptable and I was able to ease the shaft in without deforming the edge. |
 The wear pattern on the machined bearing surface of the shaft can be clearly seen....its very even and fairly minimal, hopefully the new top bush and some fresh lubrication will ensure that this contact point doesn’t become problematic. This shaft has about 112,000 miles on it and I expect that it’s the first time that it has seen daylight since 1989. |
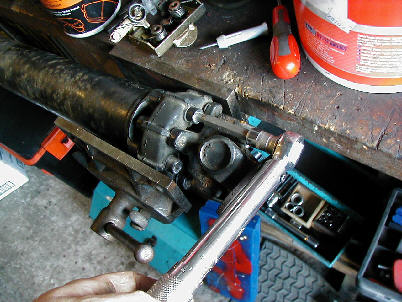
 I had no data for the torque setting for these bolts as this isn’t a normal procedure so I went with 33 ft/lbs which felt right and is the same as used for the drive shaft flange bolts which are a similar size and application. I didn’t use thread lock though there were clear signs that it was used originally. I’ll keep an close eye on the bolts tightness. |
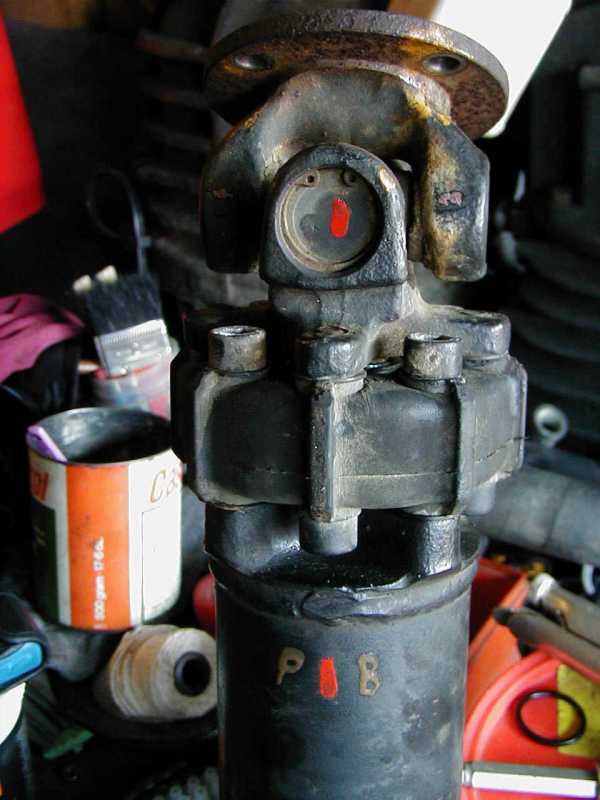
 The Finished Prop ready for refitting |
I didn’t have the prop rebalanced as the bushes weighed within a few grammes of each other and are fitted close to the centre of the prop so I guessed the effect of the change to be negligible and I rebuilt the prop in exactly the same alignment as it was originally. I have marked it PB for poly bush. The red marks are the alignment marks I made at the beginning.
The newly bushed propshaft was carefully refitted to the van, checking the allignment of the gearbox, prop and front diff with a stringline…and the result is vibe free motoring and no more ringing prop at low speed/low revs clutch take up combination.
